Most webcams hand you one lens and one field of view, and you build your whole stream around that limitation. A dual-camera 4K webcam breaks it: one wide lens for the desk, one telephoto lens for your face, both feeding the same machine over a single USB cable. If you stream, teach, or record client video, that second lens is the difference between a shot that looks like a security camera and a shot that looks like a studio.
The catch is that the second lens only helps if you actually set the two cameras up as two cameras. Plug it in, open your capture software, pick whatever device shows up first, and you get one lens and a lot of unused hardware. You paid for a second lens. Use it.
I have been running cameras for streams and corporate video for eight years, and I have watched more people waste a good webcam than I can count. Here is the workflow I would follow with a dual-camera unit, in order, plus the one book I would hand to anyone turning a spare room into a studio.
Why you should trust me
I started on a Logitech C920 and a desk lamp, moved through the 4K flagships, and now run a weekly podcast on camera plus client video work out of Austin. I have tested more webcams than I can list, in the same room, under the same lights, with the same "does my face look like me" test.
My bias, stated up front: the sensor is the camera. "4K" printed on a box with a tiny sensor is marketing, not quality. Lighting beats hardware every single time. A mid-range webcam in good light beats a flagship in a cave, and no amount of resolution fixes a face that is lit by a ceiling fan bulb.
How I judge a dual-camera webcam
Four things, in this order.
Sensor and lens quality, not the resolution sticker. A 4K sensor with a bad lens resolves mush. Ask what the actual imaging chip is and how much light it can gather before you care about the number on the front.
Autofocus behavior. Autofocus is a feature right up until it hunts. During a podcast, a camera that racks focus every time you lean back is worse than a camera that never moves. The best units let you lock focus and forget it.
Driver-free operation. If it does not show up in OBS without a fight, it is a toy. I want a camera that enumerates as a standard video device on day one.
Lens switching that does not surprise you. A dual-camera body either exposes both lenses as separate devices or switches between them internally. Know which one yours does before you build scenes around it.
The two things worth buying first
You do not need a rack of gear. You need one camera with two lenses and, if you are building a room around this setup, a plan for the room itself.
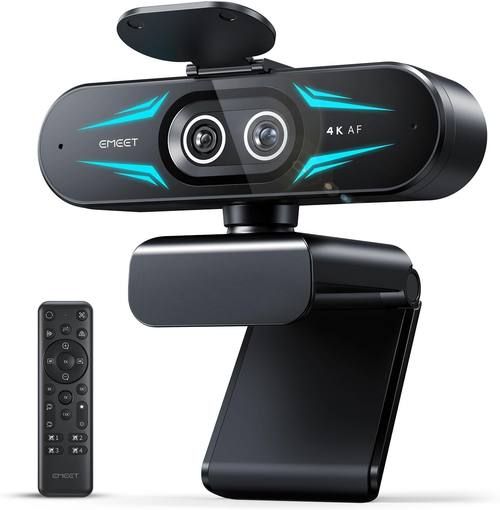
The camera pick: EMEET C60E Dual-Camera 4K Webcam for Streaming, Wide-Angle & Telephoto
 Visit on Amazon →
This is the camera that makes the whole workflow possible in one body. The wide-angle lens handles the desk shot, the room shot, the "look at this thing I am holding" shot. The telephoto lens handles the talking head, which is where most streamers actually live. One USB cable, two framings.
Check current Amazon price before you commit, and check two things in the listing while you are there. First, whether both lenses can run as separate video devices at the same time or whether the camera switches between them. That single detail decides how you build your scenes in OBS. Second, what the mounting situation looks like, because a dual-lens body is usually a little chunkier than the single-lens webcam it replaces and it may not clip to a thin laptop lid the way you expect.
Flaws but not dealbreakers: Dual-lens bodies often lean on vendor software for lens switching, framing presets, or exposure control. Vendor software and OBS do not always agree. Set the camera up the way you want it, save the profile, then close the app and let OBS talk to the camera directly.
Anyone who wants a desk shot and a face shot without mounting a second camera should start here.
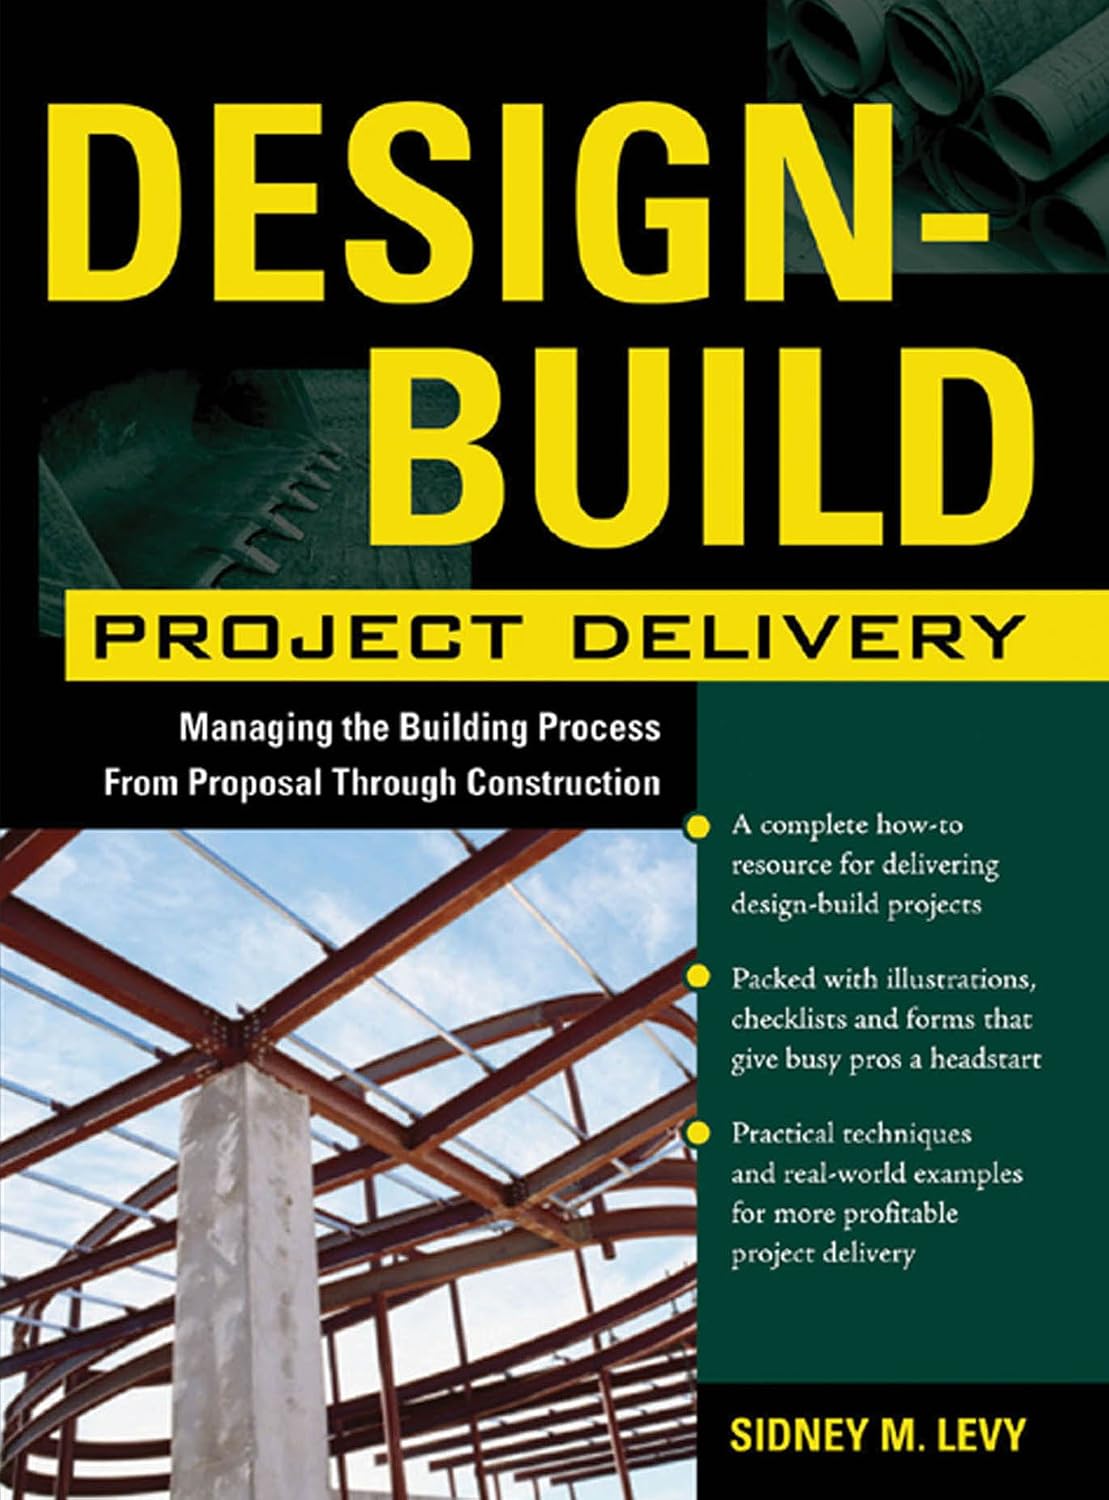
The planning pick: Design-Build Project Delivery: Managing the Building Process from Proposal Through Construction
 Visit on Amazon →
This one is not a gadget, and I am recommending it anyway, because the questions I get about webcams keep turning into questions about rooms. Acoustic panels, cable runs, a dedicated circuit so your lights and your PC are not fighting, a wall you can mount things to. The moment a stream setup becomes a build, you are running a small construction project whether you call it that or not.
This is a textbook on managing that process from proposal through construction, written for people who do it professionally. If you are hiring a contractor to finish a basement studio, or you do corporate video work on job sites, it is the reference that tells you what the phases are, who owns what, and where projects go sideways. If you are hanging two acoustic panels and calling it a day, you do not need it.
Check current Amazon price. Flaws but not dealbreakers: It is a textbook. Dense, process-heavy, and not written for hobbyists. Skim the chapters on project phases and contracts, and skip the rest until you need it.
The setup workflow, step by step
Now the part you came for. This works with any dual-camera webcam and any capture software that can see a standard video device.
Step one: Mount the camera at eye level. Put the lens at your eye height, not at chest height. A wide lens sitting low on a monitor and angled up gives you chin, ceiling, and a nostril tour. A small tripod behind your monitor or a proper monitor mount solves this in five minutes. Angle it down slightly so the frame is level with your face, not with the wall behind you.
Step two: Fix your lighting before you touch a single setting. One key light in front of you, about 45 degrees off your face, and something softer on the other side or a bounce off a white wall. That is it. Every camera setting you tune after this will behave better because of it. If you only do one thing on this list, do this one.
Step three: Plug into a real USB port. 4K video is a lot of data moving constantly. Use a port on the back of the machine that is genuinely a fast USB port, and keep the webcam off the same unpowered hub as your external drives and capture card. Half the "my 4K webcam stutters" complaints I hear are bandwidth complaints, not camera complaints.
Step four: Decide which lens does which job. Wide lens for anything that includes your desk, your hands, a guitar, a whiteboard, or the room. Telephoto lens for the solo face shot. Write it down. This is your scene list.
Step five: Add the camera to your capture software. In OBS, add a Video Capture Device source, then select the camera. If the unit exposes both lenses as separate devices, add a second Video Capture Device source and pick the other lens. If it exposes one device with an internal toggle, you get one source and you switch lenses in the vendor software before you go live. Know which situation you are in before you build five scenes.
Step six: Kill every automatic setting. Turn off auto exposure, auto white balance, and autofocus. Set exposure manually so your face sits where you want it against the background. Lock white balance after your lights have been on for a few minutes. Lock focus on the telephoto lens at the distance you actually sit. Auto white balance drifts when you change shirts. Autofocus hunts when you lean back. Both of those things happen on air.
Step seven: Set the field of view on purpose. The wide lens is your desk lens, so let it see the desk. If it also sees a laundry pile and the ceiling fan, move the camera, crop in software, or pick a narrower field of view if the camera offers one. The telephoto lens should frame your head and shoulders with a little headroom, eyes in the upper third of the frame.
Step eight: Separate your audio. The microphone on a webcam is a backup plan. If your stream audio matters at all, run a dedicated USB or XLR mic, get it close to your mouth, and treat the room so it does not sound like a bathroom. This has nothing to do with the camera and everything to do with whether people stay.
Step nine: Test in your worst conditions. Record two minutes at the same time of day you normally stream, with the same lights, and watch it back on your phone. A phone screen hides nothing. If it looks good there, it looks good everywhere.
Where dual-camera setups go wrong
Assuming both lenses run at once. Some units stream both, some switch. Check yours. If it switches, treat it as one camera with two framings and switch before you go live, never mid sentence.
Building scenes around a lens you cannot control. If the vendor app has to be open for the telephoto lens to work, that app is now part of your stream stack. Test it after every update.
Fighting the frame rate. 4K at 30 frames per second looks great when you sit still and falls apart when you wave your hands. 1080p at 60 frames per second is smoother for anything with motion. Pick per scene, not per ego.
Leaving the camera on auto and blaming the camera. Almost every "this webcam looks bad" complaint I hear traces back to auto exposure hunting against a window or a monitor behind the subject. Lock it.
What this costs
Think in three buckets: the camera, the light, and the audio.
The camera is the one purchase that has to be right, because it is the thing people look at. Check current Amazon price on the dual-camera unit above before you compare anything else, and remember that a second lens in one body is cheaper and simpler than a second camera on a second mount.
The light is the cheapest upgrade per dollar you will ever make. One decent key light and a way to soften it will do more for your image than moving up a tier in webcams.
The audio is the one people skip and regret. Budget for a microphone before you budget for a fancier camera.
The book is optional and only makes sense if your webcam upgrade is part of a bigger room build. If it is, it is the cheapest part of the project and probably the one that saves you the most money.
The short version
Mount the camera at eye level. Fix your light before you touch settings. Use a fast USB port. Assign one lens to the desk and one to your face. Lock exposure, white balance, and focus. Add the lenses to your capture software as sources. Test in your worst lighting and watch it back on a phone.
That is the whole job. The dual-camera hardware just gives you two good shots instead of one compromised one. Do the setup once, save the profile, and go back to worrying about the content.